Tag Archives: Online Card Classes

Watercolors: Embossed Resist

Standard

The next step in our exploration of watercolors, and also of the Online Card Class, is watercoloring over heat embossing.  This is supposed to give interesting effects as the paint pools around and within the embossed design.

Well, I’m getting frustrated with it, and I can’t be the only one.


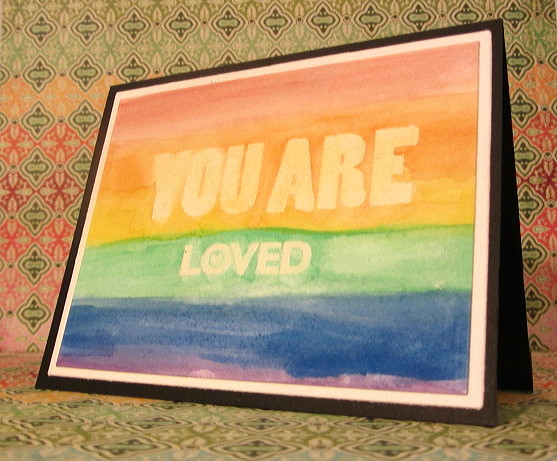
waterbands2


Here is my third attempt.  I’m sorry to say, this card looks crappier on camera than it does in real life.  But both ways, the paint is blotchy, and I am disgusted at how the orange paint stained the embossing on the sentiment.  Why did it do that? Why only the orange?  This is after three separate attempts to clean it, too.

Trying to clean the sentiment dabbed paint away from around the letters, so I went in with a fine-detail brush and tried to add more paint around the letters of “You Are,” to try and increase the contrast. Not sure it really worked.  One of the things the instructors for the class reiterate again and again with the watercolors is that less is more — you have to let the watercolors blend and move on their own.  The more you try and fuss around and fix it, the worse you will make it.  I think this is an example of that problem.  Trying to fix the stained sentiment just made everything worse.

Another thing they stress is that you won’t really know how a piece looks until it completely dries — the colors and the lines of where the water went and mingled change when dry.  That happened here, too — it wasn’t as streaky when it was still damp.

So, this card is not bad enough to pitch straight in the circular file, but it is hardly my finest moment.  I mounted the panel on some plain white watercolor paper, and then on black cardstock.  Maybe when I look at it tomorrow, it will not seem so hideous.

We’ll see.  Either way, I’m about ready to move on to other techniques.


Watercolors: Basic Washes 4

Standard

Sorry I have been so silent lately. But the electricals blew out in my office, and it took a while before I could get the electrician out.  I had some family stuff, too — my Mom was in the hospital, but she is out now and things are OK for the time being, so I was able to turn my attentions to my crafts for a while. Here are a couple cards made with some of the basic watercolor washes I made in earlier blog posts:


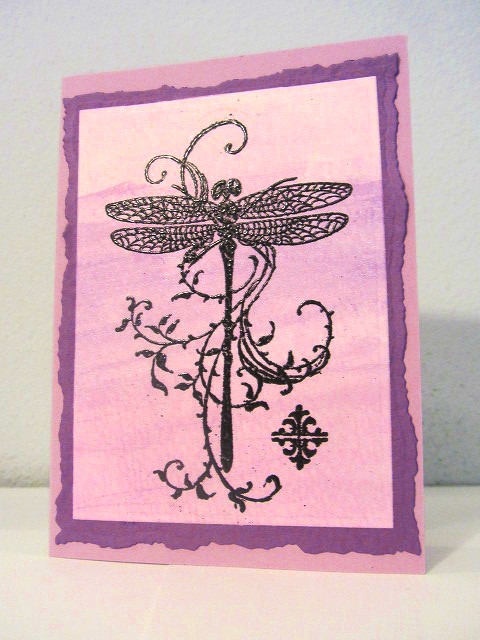
waterdragon


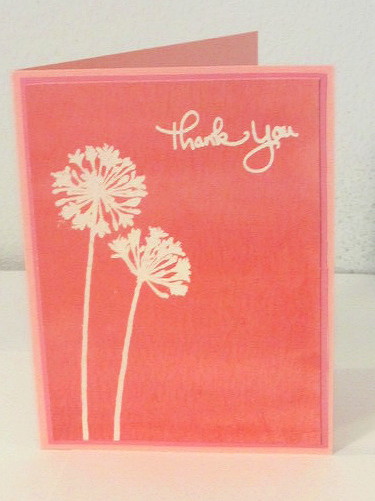
The dragonfly panel on this card I stamped and black heat-embossed on the purple watercolor Gelatos wash I made here.  The darker purple mounting panel was cut with the Spellbinders Distressed Edges nesting dies, my first time using them, so NBUS, as Darnell says.  Mostly I kept it simple, no bling, to showcase the washed panel. This second card is stamped on one of the Twinkling H20s panels. Try as I might, I could not catch the iridescence of the paint in the photo, but this shot does show the banded nature of the wash well enough.  Again, simple.


waterthanks


I swear, I lined that sentiment up with a grid block and it still came out crooked!  I have problems with my eyesight, I think that is why I have such trouble with straight lines. I think I need to adopt a more naturalistic, flowing style that is not so dependent on straight lines and things lining up nicely. I’m trying to figure out what that is.


The pink Gelatos panel I butchered during the course of making a card, and it had to be discarded.  It’s not often that I screw things up so badly that a card has to be trashed, but it happens.


I was signed up for the Watercolors for Card Makers Online Card Class, but I haven’t been able to attend much, with my Mom’s sickness, and no power in my office.  But we have a week to work before the class closes, so if I do any of those projects, I will post them here too.

Watercolors: Basic Washes 2

Standard

just a quick card i made with a wash of Distress Ink treated as watercolor:


waterlove


This is something I’ve seen in the blogosphere a lot lately — bright washes of watercolor, paired with thick black sentiments or diecuts.  So I though I’d try that. I took this picture with my phone, which is why it looks weird.  The inks are Salty Ocean, Peacock Feathers, and Mowed Lawn.  The sentiment is from Momenta.  I’ve never used it before, so it’s NBUS.  As I work through my stash list I’m also trying to use the stamps I’ve bought but never used yet.

Stenciled: Emboss Resist

Standard

Emboss resist is one of my favorite techniques.  It’s like magic when the embossed image shines through the pigment that has been applied to the project:

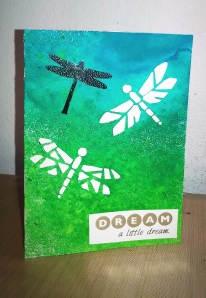
resist

Here the stencil is from Plaid; I got it at Michaels.  It’s intended to be used with acrylic craft paints, but it can work with other things.  I embossed the dragonflies with white embossing powder.  The card was then sprayed with Dylusions Ink Sprays in Cut Grass and Calypso Teal.  I generally don’t like sprays and mists; they’re too messy and uncontrolled for me.  But of the ones I have, I do love the Dylusions because the colors are so vibrant.

The metal embellishment is from Momenta, and the sentiment is a Moments sticker again, mounted on some cardstock to hopefully make it look less obvious that it’s a sticker.  I guess I like Momenta’s stuff.

Stenciled: Misting

Standard

Here’s another card, done with misting.

misting

The patterned paper si from an old Walmart “Best Occasions” paper pack called “Bright Punchout Pack.”  I think this might be the first paper pack I ever bought, so yay me for using it.

The stencil is from Crafter’s Workshop, and I sprayed through it with Black Magic Glimmer Mist.  The sentiment is a Mod Podge rub-on, and the coin embellishment is from Bead Landing at Michaels.

Online Card Classes: Stenciled

Standard

I’m taking part in the Stenciled class at OnlineCardClasses.com .  I find this a good way to invest money in the hobby:  you learn lots of new techniques, and you have lifetime access to the classes, so you can work at your own pace, and go back and review things from prior classes if you need to.  The prices are very reasonable, and as well as videos and a message board, you get PDFs explaining how to make all the featured cards.

Stenciled, of course, is about using stencils on cards. Stencils have been around for ages, but they seem to be having a renaissance right now.  They’re good for layering, and backgrounds, and you can do so much with them. And they’re cheap.  They’re a good stash investment, I think.

Here is my first card, just basic ink sponging through the stencil:

sponging

Hexagons were a definite trend last year.  But I’ve always found hexagons to be a uniquely pleasing shape, so I went ahead and invested in several hexagon products — stamps, dies, stencils, a punch.  I’ll be able to use them long after the trend has died, and that’s OK, because I like them.  If a trend comes along that you genuinely like, I think it’s OK to indulge in it.  Just not every trend that comes along.  The chalkboard stuff that’s so popular right now does nothing for me, so I haven’t bought a piece of that.

I added a couple epoxy domes to two of the hexagons to highlight them.  The sentiment is a Momenta sticker.